How to Create a Transparent Background in Photoshop – Literally, transparent background means there will be no background with an object. Transparent background gives lots of benefits and extra facilities. You can freely move an object that is having a transparent background. It also influences the viewers to focus on the main object. That creates opportunities for the people who want to promote their product.
Several options are available in Photoshop to create a transparent background. Do you know how to create a transparent background in Photoshop? In this article, I am going to reveal; 2 best ways of how to create a transparent background in Photoshop.
After reading this post, you will be able to convert any background to a transparent background. At the end of this article, there will be some useful information for you. So, read this post till the end and learn how to create transparent backgrounds.
How to Create a Transparent Background in Photoshop
As I have said earlier, I am going to share 2 different methods of creating a transparent background. In the first method, we are going to create a transparent background using the pen tool. In this way, we can make a selection precisely and it makes the ultimate result accurate.
Method 1: Create a transparent Background Using the Pen tool
Step 1: Selecting the object
First, open your image in Photoshop and double-click on the background layer. It will unlock the layer.

After that, we need to take the pen tool and select the object precisely. You can find the pen tool here.

Now, we are going to zoom in on the picture by pressing “CTRL and +”. Then start creating parts around the product.
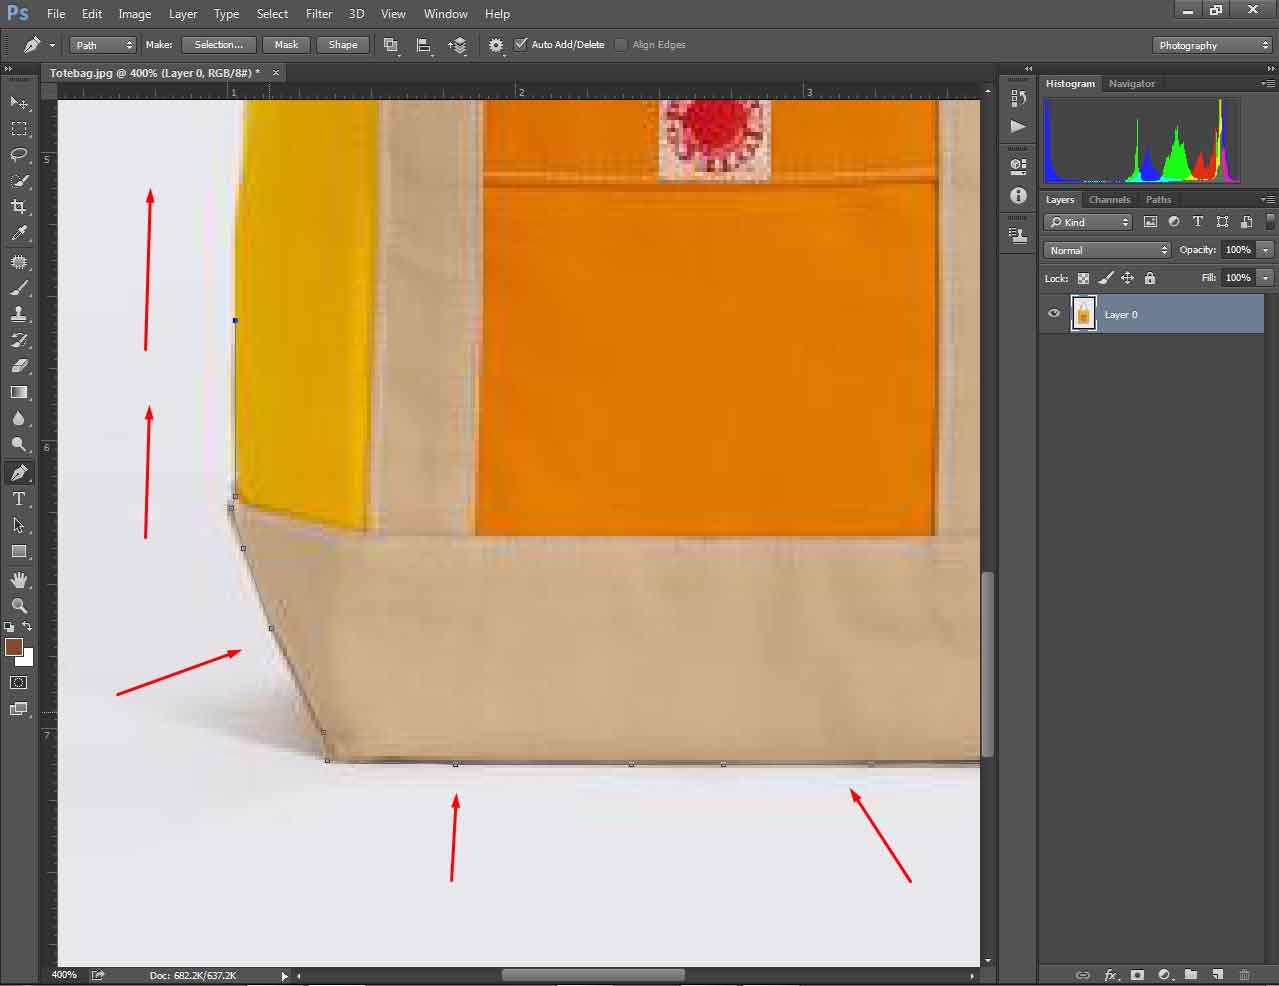
In this way, you have to cover the whole object. On an important note, make sure that you have in your path on the starting point. Have a look at this screenshot for a better understanding.
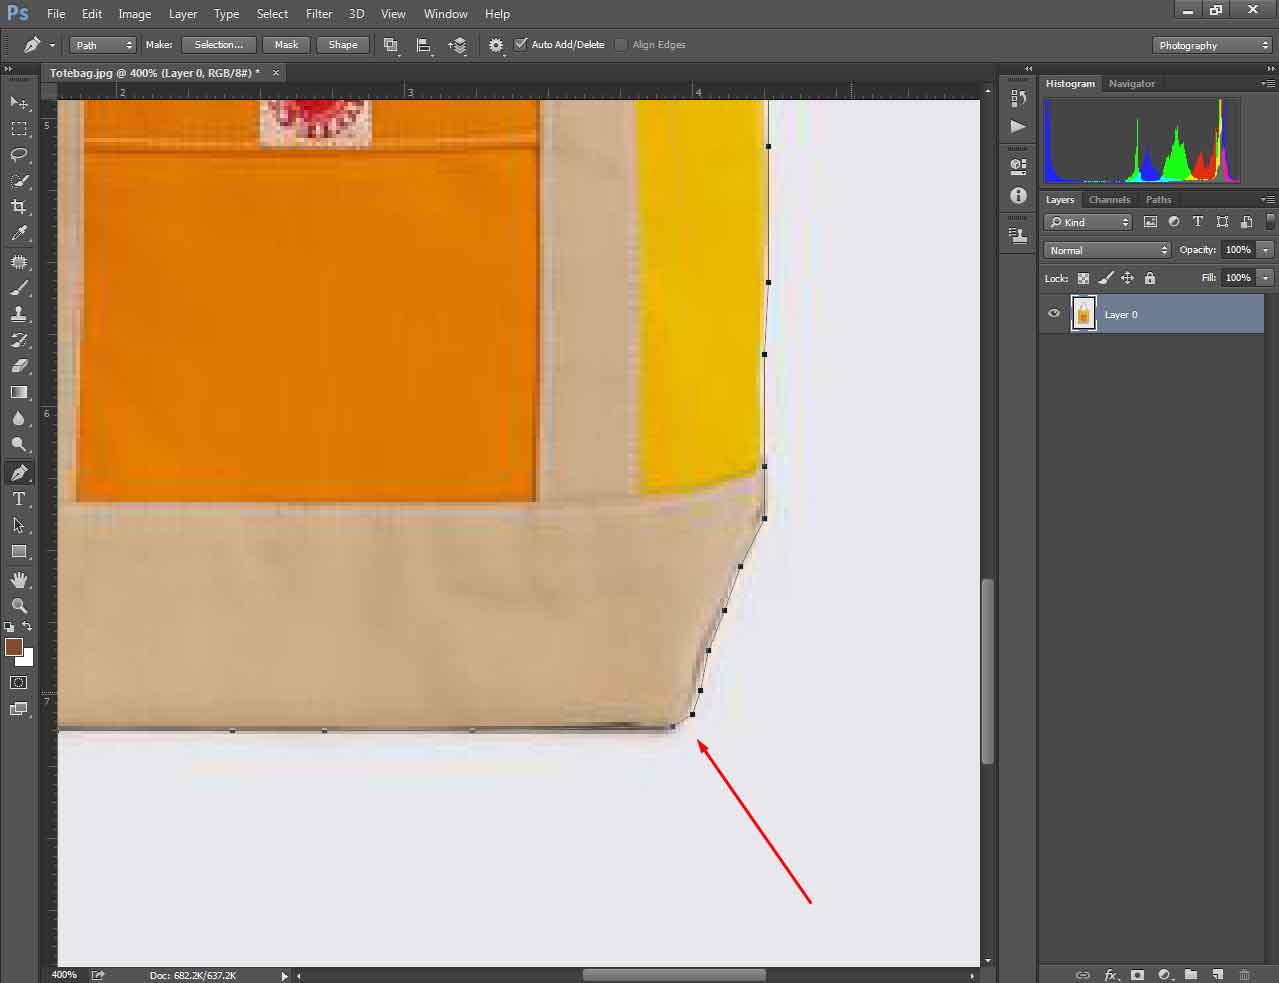
When you are done, zoom out the picture by pressing “CTRL and –”.
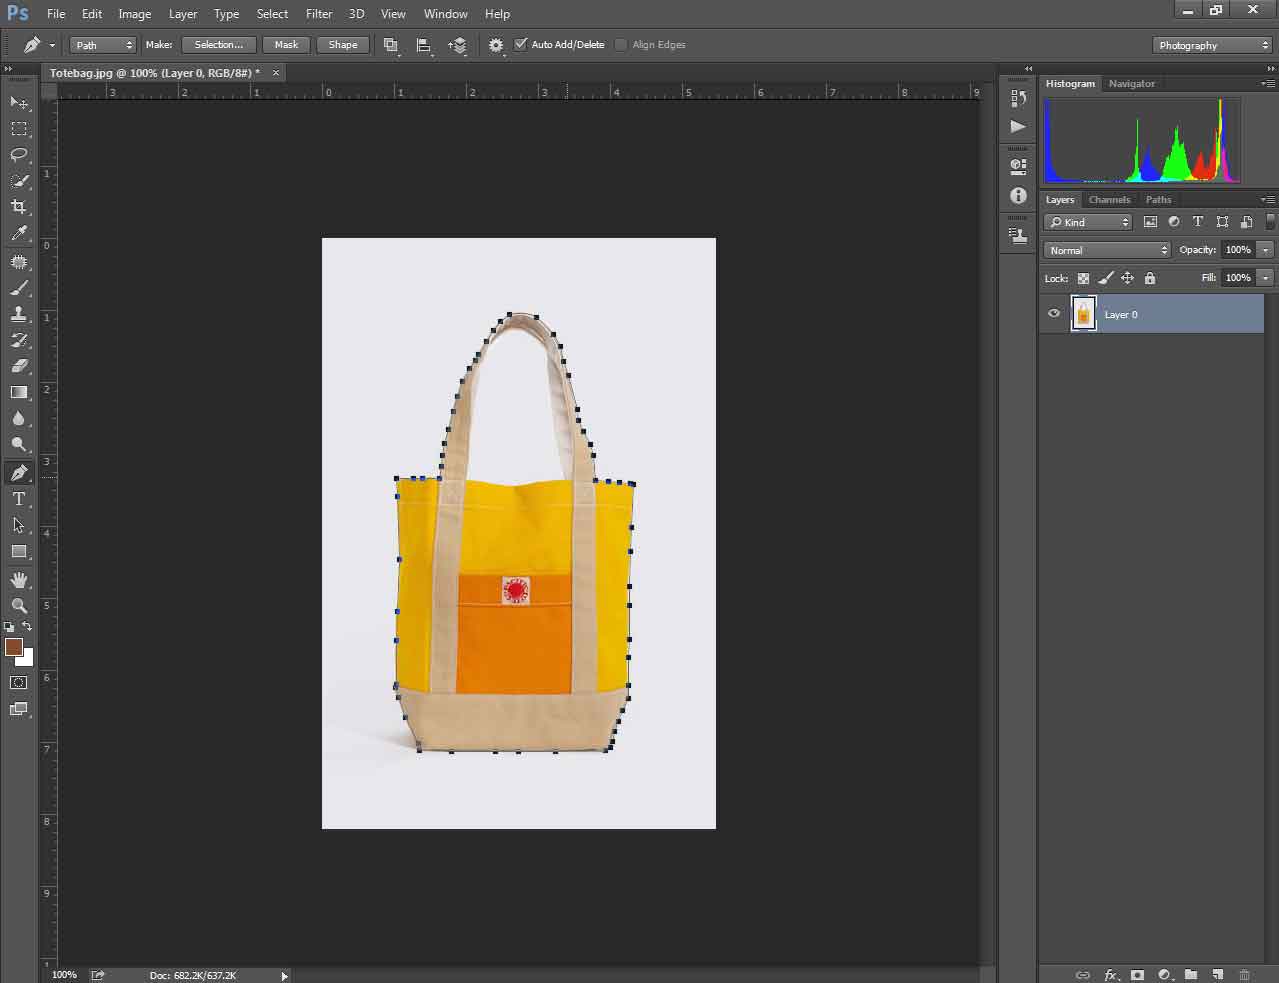
Step 2: Create Paths on the Inner side
At this stage, we have created paths from the outside portion. Now, we have to create paths on the inner side. Take some time and do it precisely. Have you done this? Now we have to turn the path line into selection. Before that, we have to activate all the created paths. Press and hold CTRL, drag the mouse over the object. It will select all created paths.
Right-click on your object and choose “make selection”.
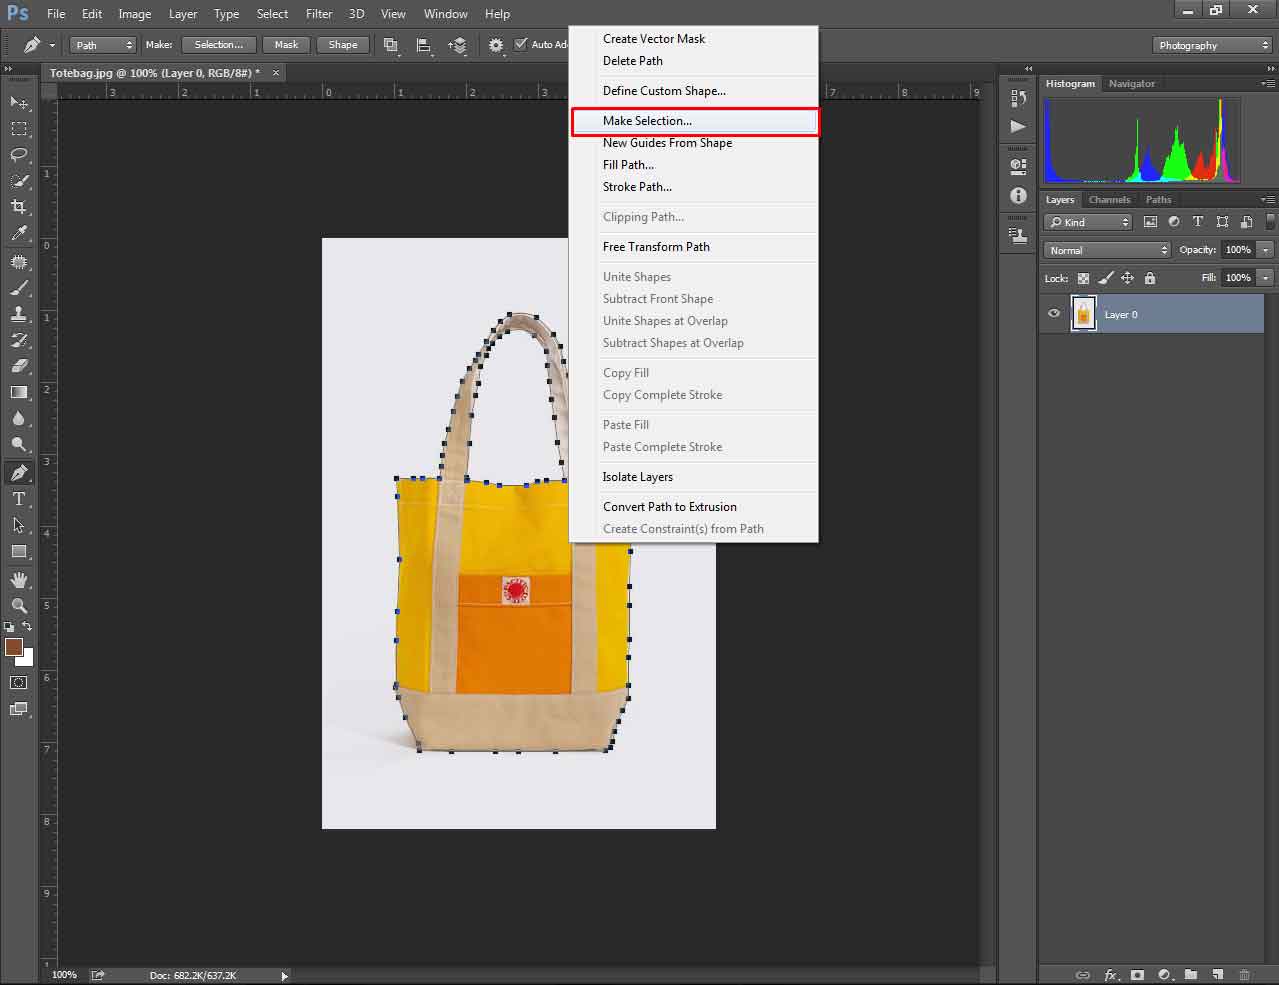
Now, we have to reverse the selection. Use the shortcut “CTRL + SHIFT + I” to do that.
Step 3: Erase the Background
In this step, press the keyboard key “Delete”. It will erase the background and bring a transparent background. Allow me to show you the example.
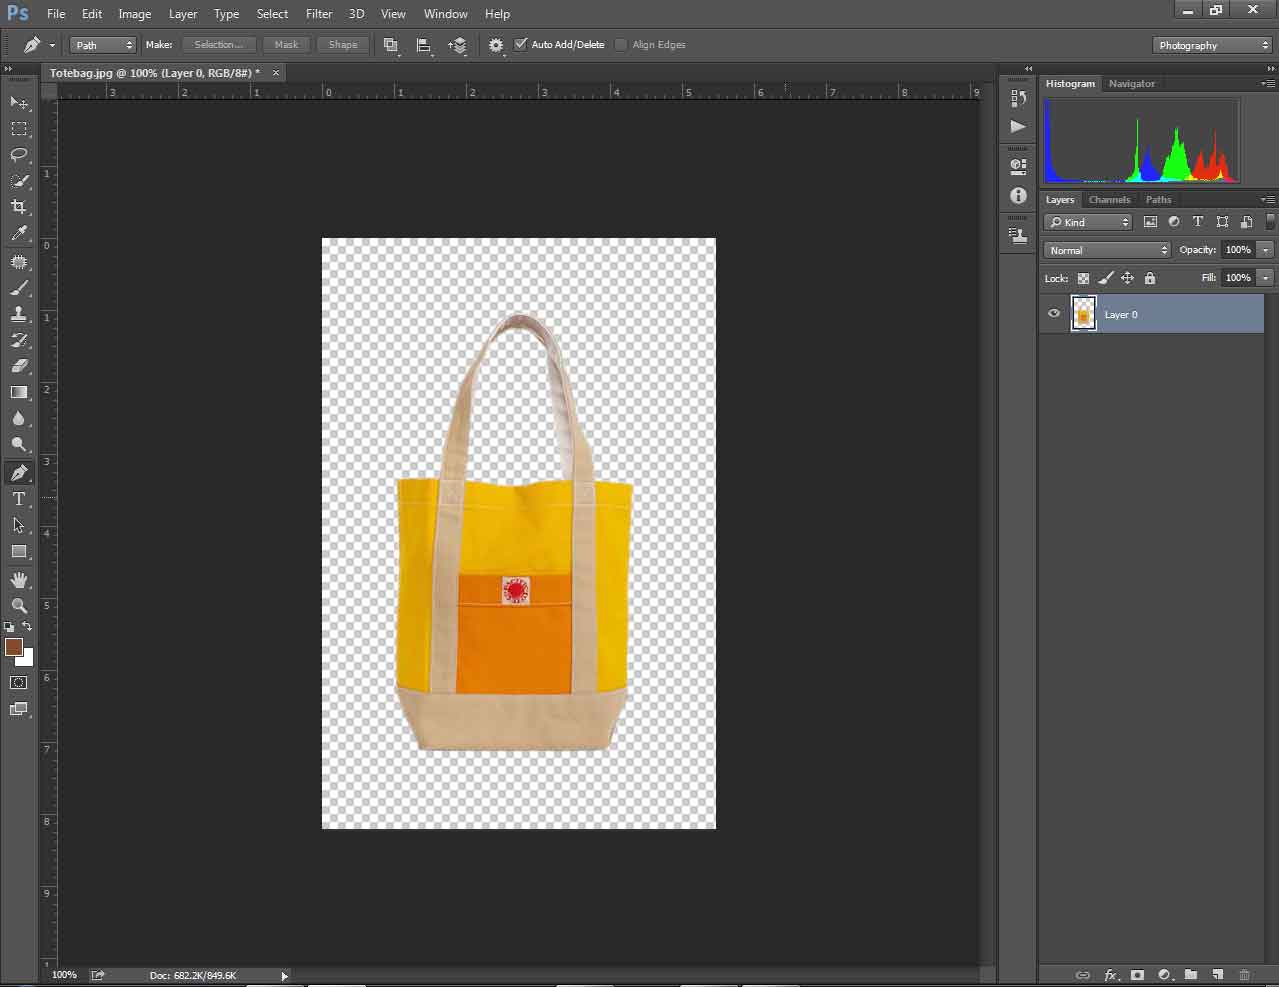
See, we have got our product on a transparent background. You can also do it by following the above procedure.
Are you okay with our first method? It might take some time to select the object but this method is the most accurate option.
Do you want to create a transparent background within a short time? Our next method will be helpful for you. In the second method, I am going to show you how to create a transparent background using the quick selection tool.
Let’s start.
Method 2: Create a transparent Background Using the Quick Selection Tool
Step 1: Select object with the quick selection tool
First of all, unlock the background layer and select a quick selection tool. You can get the tool here.
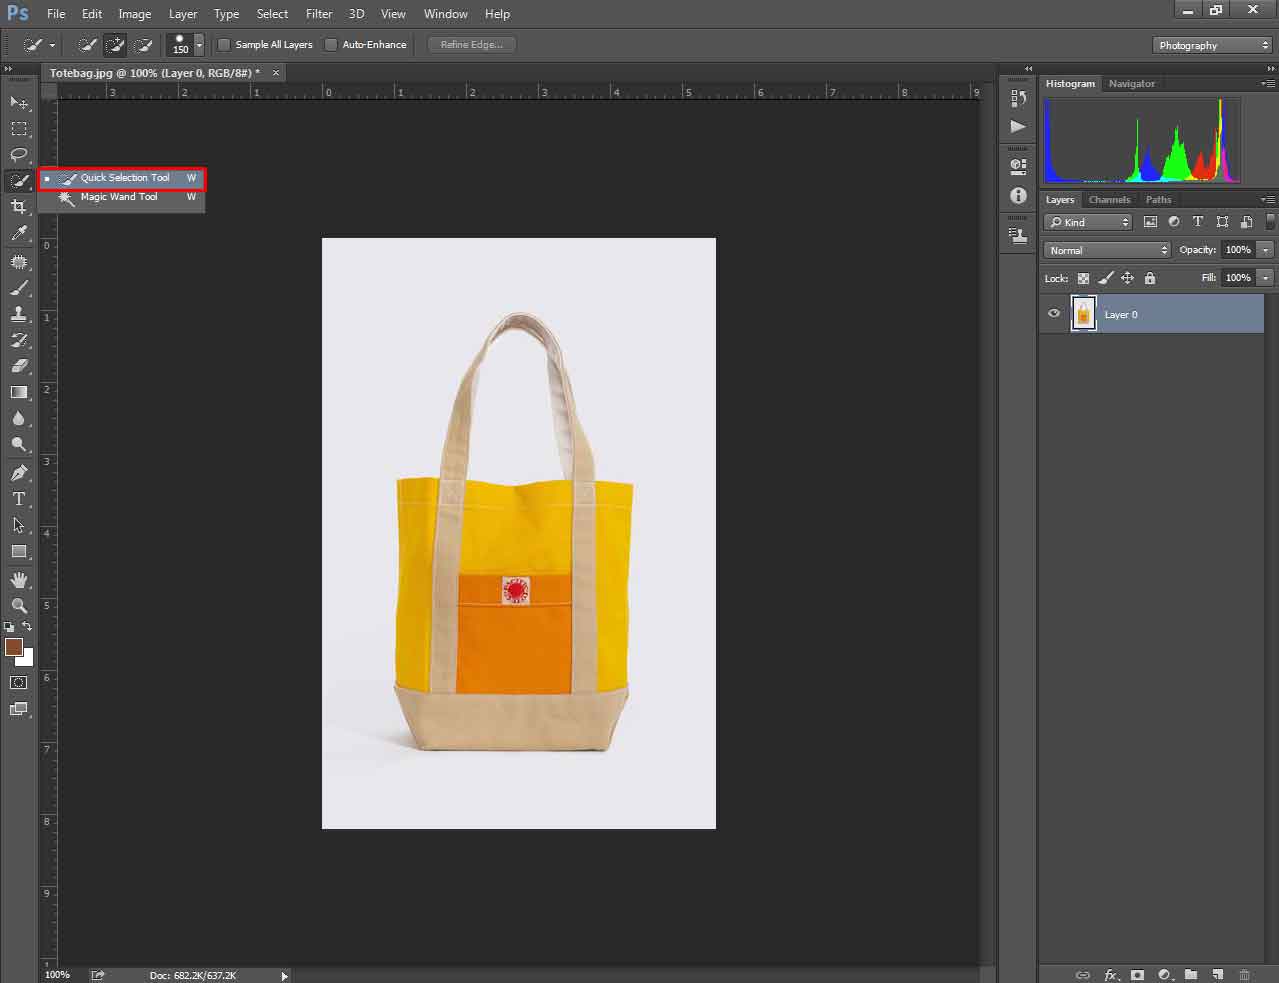
Drag the mouse over the object to make the selection. It will quickly select the object. If there are any holes or gaps within the object, you need to subtract these portions from the selection. Press and hold ALT to subtract any area from the selection.
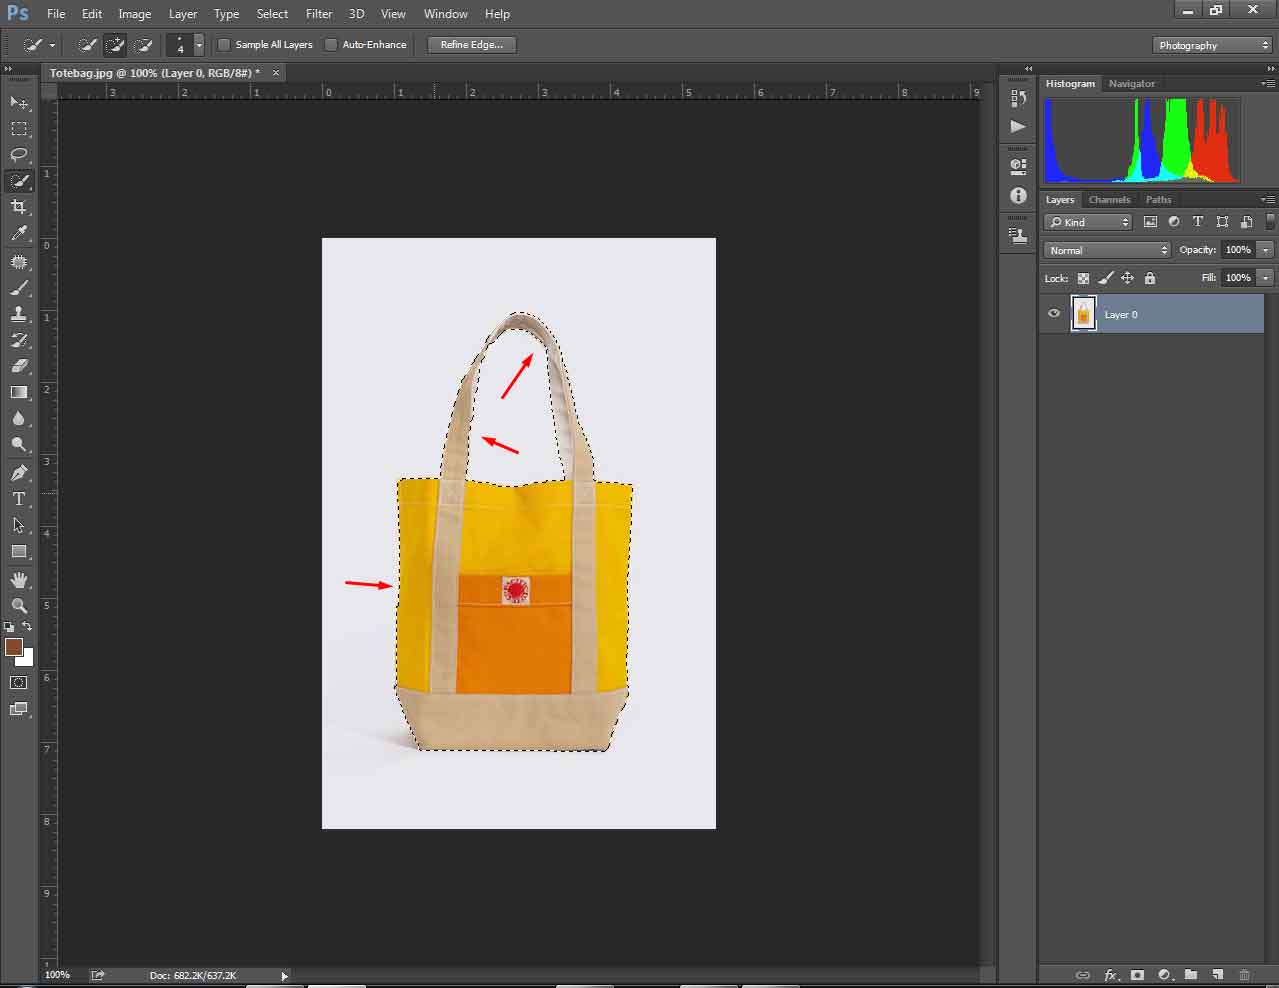
Step 2: Inverse Selection
Now, the procedure is similar to the previous method. Press “CTRL + SHIFT + I” and press on the “Delete” key. It will make the background transparent. Still, showing the selection line? Use the shortcut “CTRL + D” to deselect everything.
Here is the ultimate result.
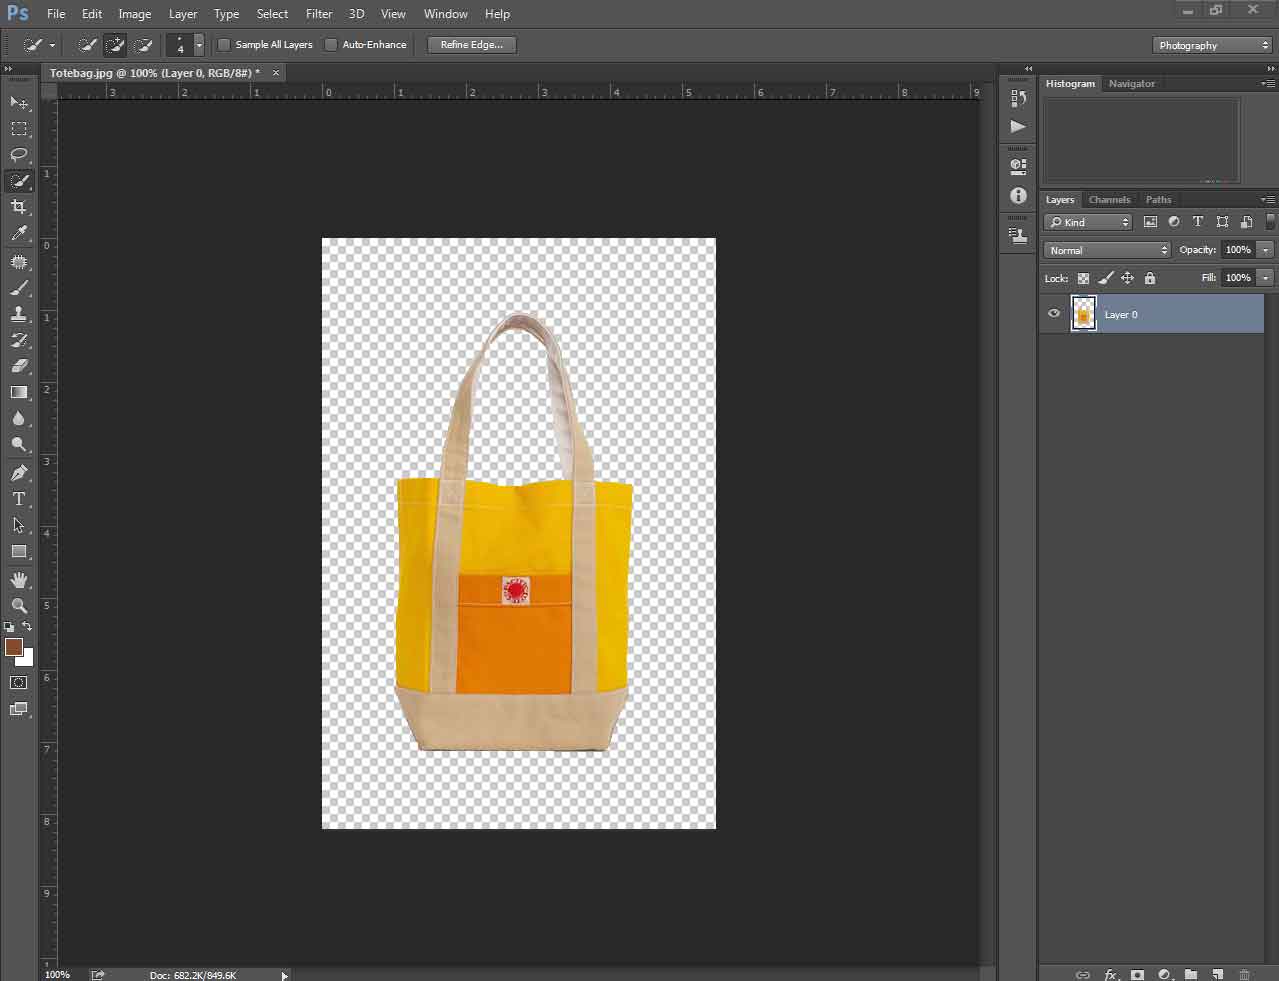
That’s all. Which method would you like to apply for your images? Let us know in the comment box.
From now on, you can convert any background to a transparent background in Photoshop. In the beginning, I have talked about giving you some information. Permit me to narrate.
Why use a transparent background?
When you present something on a transparent background, the viewer pays attention to the main object. That is one of the biggest advantages of using a transparent background. Also, a transparent background makes it easier to move the object and place it in any background.
Also, it allows you to take the picture in any background even in an unsuitable background. so you do not have to worry about the background and you can put your attention on bringing the best look of the object. It will increase the standard of your images. Do you want to get all of these advantages?
Get Background Removal Service
We know removing the background from an image is a lengthy process. You might not have the time to spend on that particularly when you have too many photos. Clipping Path Retouching Graphics Firm brings the best solution for you. CPR Graphics Firm is offering you professional background removal services at a reasonable price.
You just need to send your photos to them and they will remove the background from your images. Nearly one hundred professional graphic designers are working for them. So, they are more than enough to handle bulk orders. You can have a try.
Who background removal services?
- Online Vendors
- Product Photographer
- Magazine Publisher
- Print Media
- Advertisers
- Studio Owners
- Amazon and eBay sellers
- E-commerce Owners
- F-commerce Owners
Final thought
We have come to the end. Do you still have any queries about how to create a transparent background in Photoshop? Feel free to ask in the comment box, we will respond to you soon.
Keep in touch with us to get more useful articles related to Photo Editing Services. Thank you.
FAQ
Q: What is a transparent background image?
A: Transparent background means you can inspect underneath the background.
Q: Does JPEG support transparency?
A: No, the JPEG format doesn’t support transparency.
Q: In which format I can save a transparent image?
A: You can save it in PNG format.
How to Create a Transparent Background in Photoshop
Published By
CPR Graphics Firm
